Most makeup artists hit a wall trying to translate editorial concepts from mood boards into real-life texture. They layer pigments, mix mediums, and still end up with flat, lifeless finishes that photograph like last season’s trends. The problem isn’t talent—it’s technique. What if the secret wasn’t in what you apply, but how you disrupt it?
Why Traditional Techniques Flatten Bold Makeup Textures
Conventional blending, stippling, and layering are designed for wearability—not disruption. And that’s fine for bridal or red carpet. But editorial makeup demands controlled chaos. Standard brushes smooth out dimension. Liquid bases pool in pores instead of clinging to ridges. Even high-pigment formulas behave predictably under studio lights—predictable being the enemy of avant-garde.
The math is simple: if your texture looks the same from every angle, you’ve failed the assignment.
Step-by-Step Guide to Engineering Dimensional Bold Makeup Textures
Prep Like a Sculptor, Not a Painter
Forget dewy primers. Start with a matte, slightly tacky base—think alcohol-based setting spray misted over bare skin or a thin layer of spirit gum thinned with castor oil. This creates micro-grip zones where powders and waxes cling unevenly. Imperfection is the goal.
Layer With Contradictory Mediums
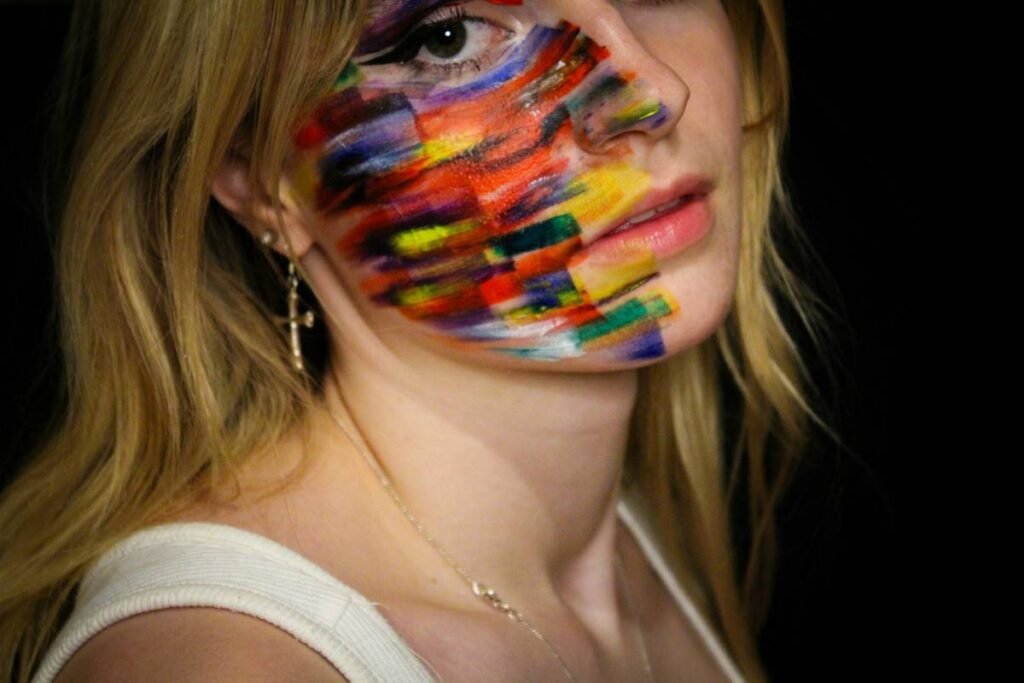
Combine water-based pigment with oil-based gels. Mix loose chroma powder into melted beeswax. Use a silicone spatula—not a brush—to smear metallic foil onto dried latex cracks. The tension between incompatible textures creates organic, unpredictable topography. Think about it: nature doesn’t blend seamlessly. Neither should your makeup.
Disrupt With Found Objects
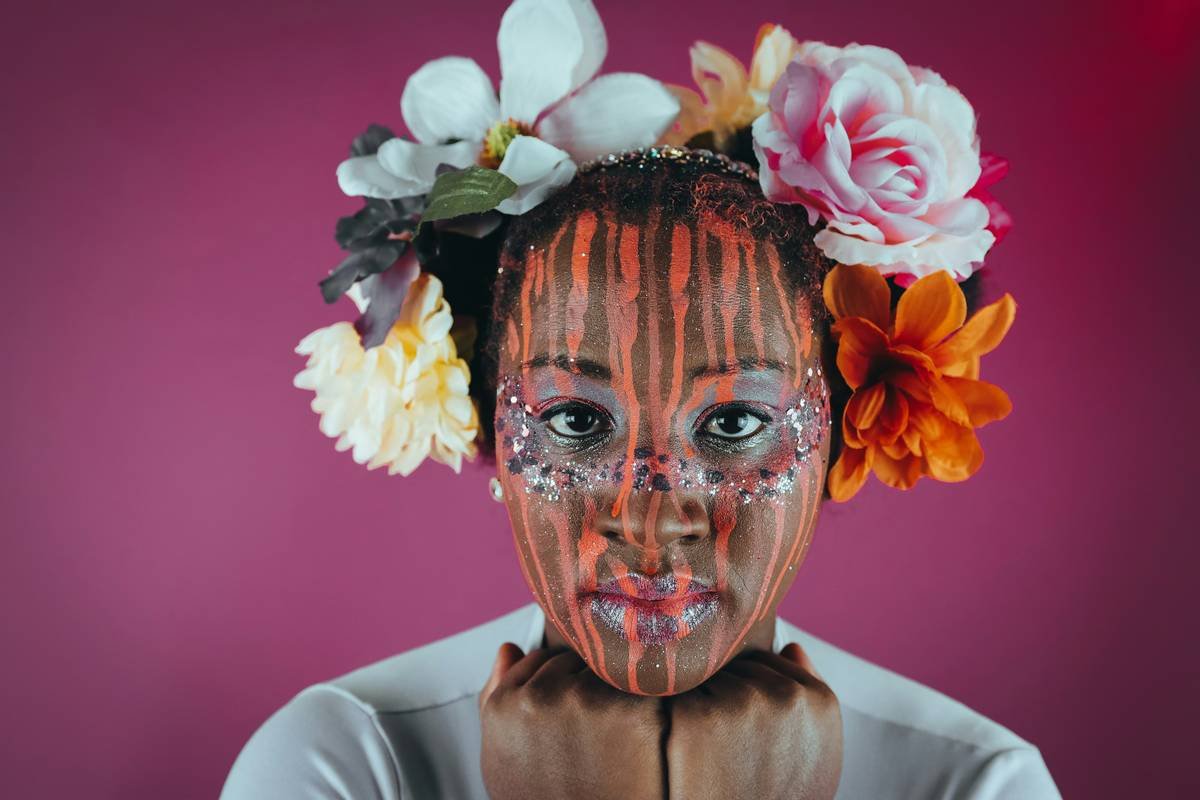
Crushed mica on crumpled cellophane pressed into wet pigment. A toothbrush flicked through dried clay. Ice cubes dragged across gloss to create frost veins. These aren’t gimmicks—they’re textural accelerants.
| Texture Technique | Key Materials | Drying Time | Photogenic Impact |
|---|---|---|---|
| Wax-Powder Suspension | Beeswax, loose pigment, isopropyl myristate | 8–12 min | High (catches directional light) |
| Latex Cracking | Non-toxic liquid latex, acrylic paint, fan | 15–20 min | Extreme (creates shadow depth) |
| Gel Suspension Drag | Clear styling gel, iridescent flakes, palette knife | 5–7 min | Moderate-High (reflective but subtle) |
| Foil Embossing | Transfer foil, adhesive medium, heat tool | 3–5 min | Very High (mirror-like contrast) |
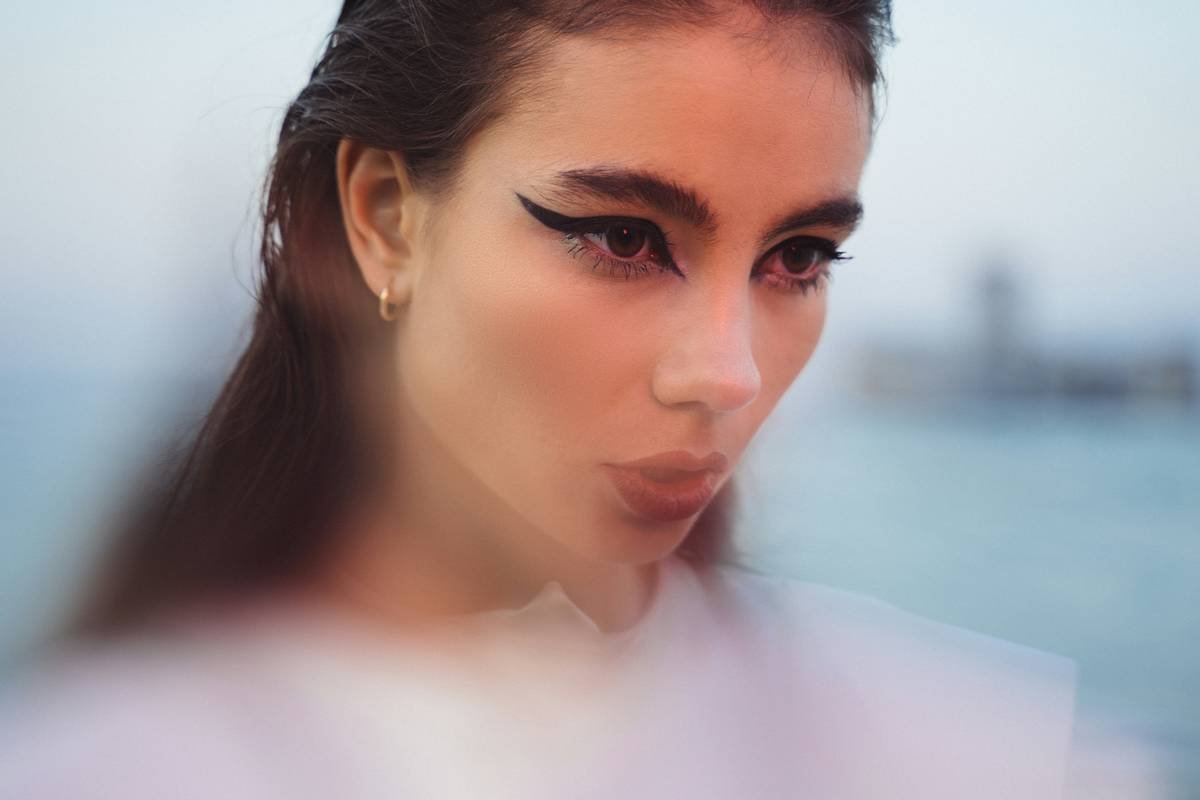
The Industry Secret: Texture Lives in the Negative Space
Here’s what no tutorial tells you: texture isn’t just where product sits—it’s where it refuses to go. The most arresting avant-garde looks exploit skin’s natural topography: pore clusters become valleys, fine lines turn into canyon networks. I once prepped a model’s face with translucent setting powder only on her T-zone before applying a glossy tar-like gel elsewhere. Under cross-lighting, the untouched cheeks looked like cracked desert earth beside glassy obsidian. No extra product. Just strategic omission.
Controlled absence > chaotic application.
Frequently Asked Questions
How do you make bold makeup textures last under hot studio lights?
Use a dual-setting method: set underlying layers with cold air (not powder), then seal top textures with a fine mist of vinyl-based setting spray—never alcohol-heavy formulas.
Can you achieve bold makeup textures without professional products?
Absolutely. Mix cornstarch with hair gel for chalky suspension. Use nail art foil with school glue. Editorial thrives on resourcefulness, not price tags.
Are bold makeup textures suitable for all skin tones?
Yes—if you respect undertone physics. Cool metallics amplify ashy textures on deeper skin; warm bronzes carve warmth without muddying. Test under daylight-balanced LEDs first.