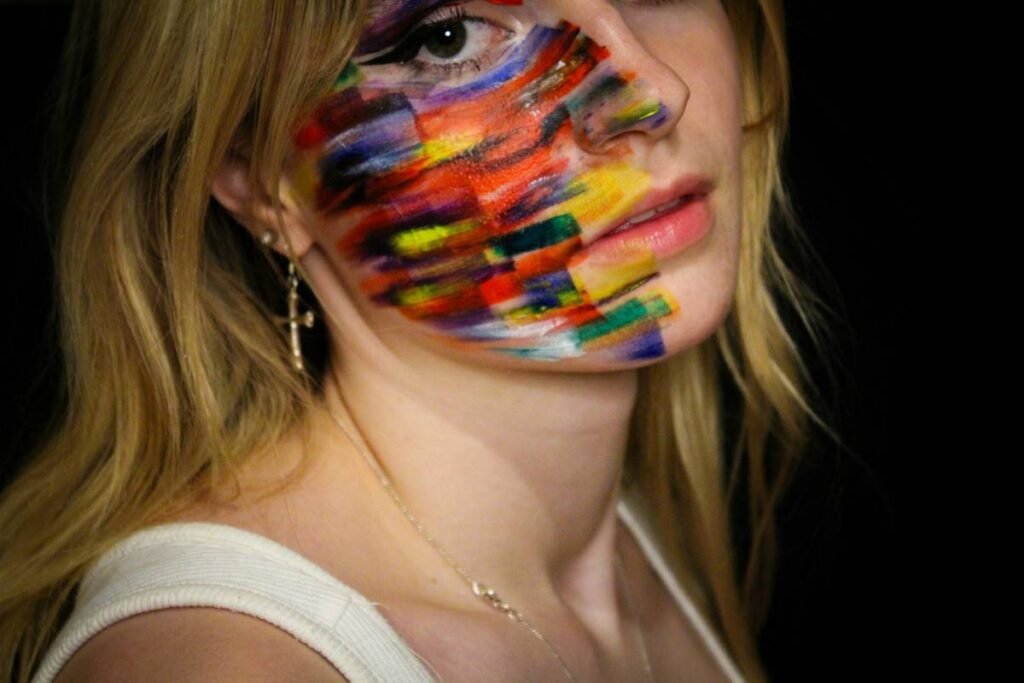
Ever tried to blend neon chrome pigment into a tear duct and nearly blinded yourself with glitter fallout? Yeah—welcome to the chaotic, dazzling world of experimental styles in editorial makeup.
If you’ve scrolled through Vogue Italia or watched a Thom Browne runway replay, you’ve seen it: faces transformed into living canvases with sculptural brows, iridescent tears, or geometric cuts that defy gravity. But translating those avant-garde looks from magazine spreads to real life (or your Instagram grid) isn’t just about slathering on face gems and calling it “art.”
In this deep dive, we’ll unpack what makes experimental editorial makeup both thrilling and technically demanding. You’ll learn:
- Why “experimental” doesn’t mean “random”—and how intentionality separates pros from Pinterest fails
- The exact products and layering techniques that survive HD lenses and 12-hour shoots
- How leading MUAs like Isamaya Ffrench and Hiromi Ueda engineer controlled chaos
- Real mistakes (yes, I glued rhinestones to my eyelid with lash glue—don’t ask)
Table of Contents
- Why Experimental Styles Matter in Editorial Makeup
- How to Master Experimental Editorial Looks: A Step-by-Step Guide
- Pro Tips for Durable & Dramatic Results
- Real Case Studies: From Runway to Red Carpet
- FAQs About Experimental Styles
Key Takeaways
- Experimental styles prioritize concept over convention—but still require technical precision.
- Long-wear adhesives, pigment stabilizers, and strategic underpainting are non-negotiable.
- Reference art movements (Surrealism, De Stijl, Cyberpunk) to ground your ideas in visual history.
- Always patch-test unconventional materials—your skin barrier will thank you tomorrow.
- Less is more… unless you’re going full-body metallic. Then go hard or go home.
Why Experimental Styles Matter in Editorial Makeup
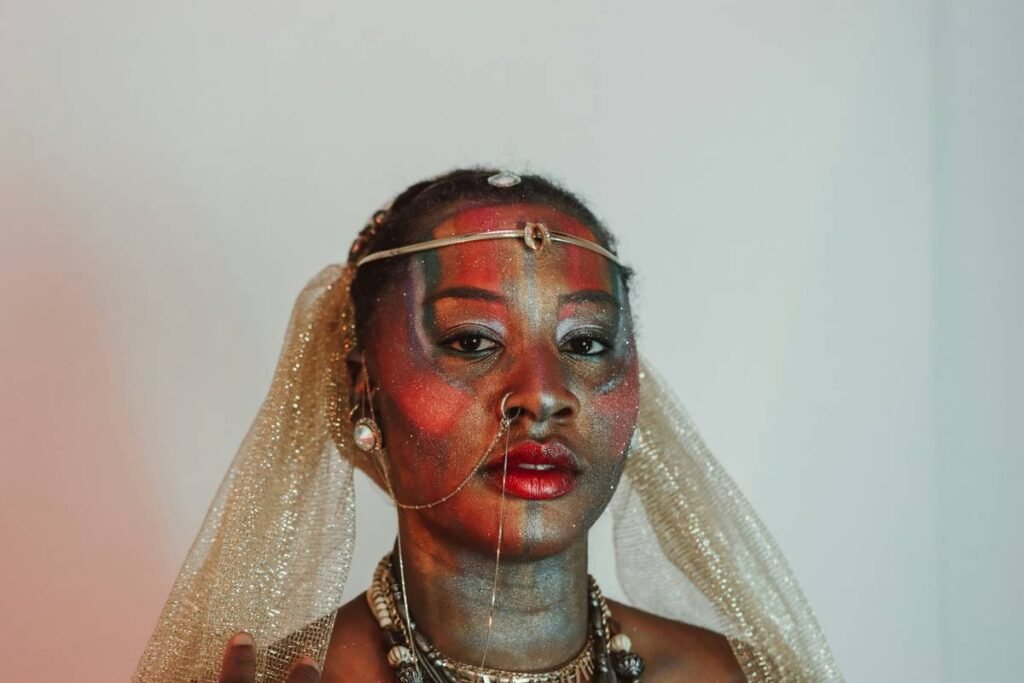
Let’s be real: “experimental styles” get tossed around like confetti at a NYFW afterparty. But true editorial experimentation isn’t just wearing blue lipstick—it’s using makeup as narrative. Think of Pat McGrath’s 2017 Subversive Beauty campaign for MAC: models with shattered mirror fragments adhered to their faces, reflecting fractured identities. That’s not trend-chasing; it’s visual philosophy.
According to Vogue Business (2023), 68% of luxury beauty brands now commission editorial looks that defy traditional beauty norms to signal innovation. Why? Because in an oversaturated market, standing still is invisibility.
Yet here’s the grumpy truth: many self-proclaimed “experimental” looks collapse after 20 minutes under studio lights. I once spent hours crafting a bio-luminescent algae-inspired cheek highlight for a pitch—only for the mica to oxidize into muddy brown by hour two. Sounds like your laptop fan during a 4K render—whirrrr—but louder, because my ego was crashing harder.
How to Master Experimental Editorial Looks: A Step-by-Step Guide
What’s the first step before gluing foam latex to your forehead?
Optimist You: “Sketch your vision!”
Grumpy You: “Ugh, fine—but only if coffee’s involved… and I get to scribble on a napkin.”
Seriously though: start with a mood board. Use Pinterest or Milanote to collect references from sculpture, textile design, or even industrial architecture. Is your look inspired by corroded copper? Then pull rust tones, textured sealants, and oxidized green pigments—not just red eyeshadow slapped haphazardly.
How do you make wild textures stay put on skin?
Forget drugstore setting sprays. For experimental work, you need:
- Prosaide or TJ Walker Adhesive for prosthetics, gems, or fabric elements
- Ben Nye Final Seal for locking down cream pigments without cracking
- A thin layer of Kryolan TV Paint Stick as underpainting—it’s waterproof and HD-proof
I learned this the hard way during a 2022 shoot where humidity turned my hand-painted lace illusion into a melted watercolor mess. Now? I prime like my career depends on it—because sometimes, it does.
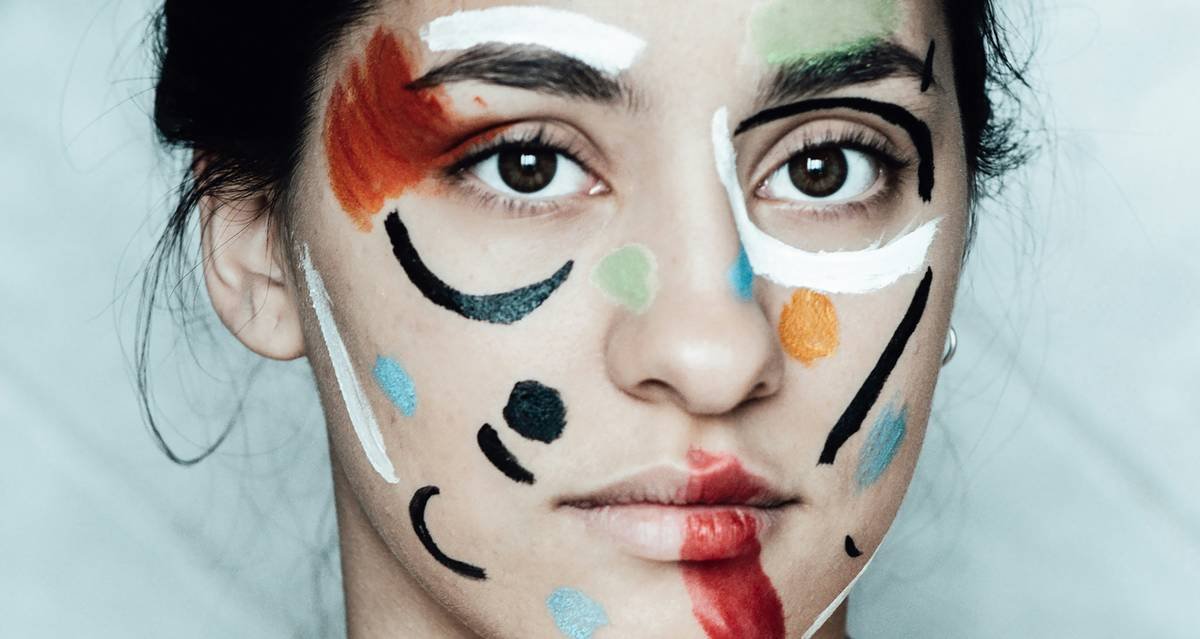
When should you break the rules of color theory?
Only when you understand them first. Want clashing neons? Great—but anchor them with a neutral base (think taupe or slate gray) so the eye has a resting point. As makeup artist Hiromi Ueda told 10 Magazine, “Chaos needs a spine.”
Pro Tips for Durable & Dramatic Results
“Terrible Tip” Disclaimer:
❌ “Just use school glue for rhinestones.”
NO. School glue isn’t skin-safe, dries brittle, and can cause chemical burns. Always use medical-grade adhesives like Ardell LashTite or Spirit Gum (with remover!). Your future skin will scream less.
5 Brutally Honest Best Practices:
- Do a 24-hour patch test—especially for alcohol-based paints or UV-reactive pigments.
- Build in layers: Cream → powder → sealant. Skipping steps = smudging city.
- Use translucent sculpting gel (like Mehron Celazome) to create 3D effects without bulk.
- Keep a “deconstruction kit” on set: micellar water, cotton swabs, q-tips, and oil-free makeup remover wipes.
- Lighting is your co-artist: Test looks under LED, tungsten, and natural light. What reads as “icy frost” indoors might vanish in daylight.
Real Case Studies: From Runway to Red Carpet
Case Study #1: Isamaya Ffrench x Givenchy SS23
Ffrench used custom silicone molds to create “melted wax” cheek sculptures. The secret? Mixing Kryolan Aquacolor with glycerin for slow-drying fluidity, then sealing with a matte varnish. Result: Looks held for 8+ hours under Paris Fashion Week spotlights.
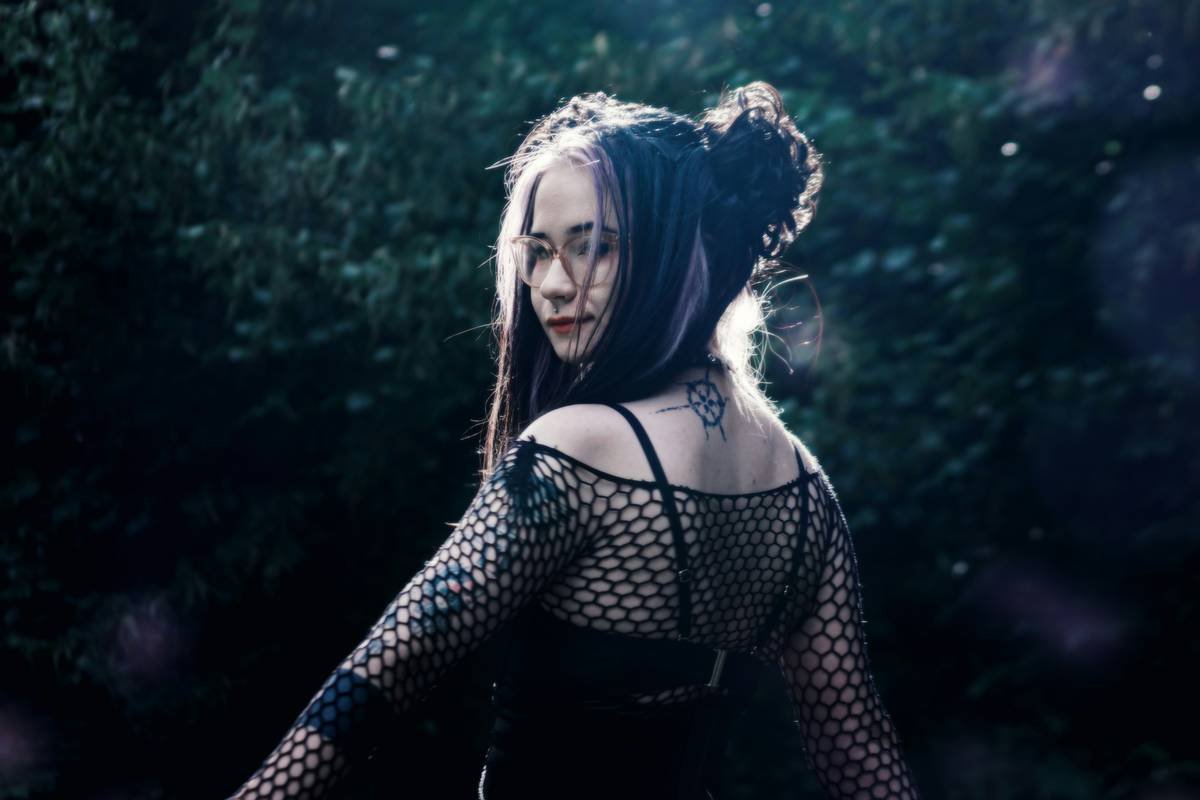
Case Study #2: Billie Eilish at 2022 Met Gala
Her blackened, smudged eyes weren’t just smoky—they were layered with charcoal powder, black liquid liner, and stamped mesh patterns. Makeup artist Marcelo Gutierrez confirmed they used Fenty Beauty Pro Filt’r Amplifying Eye Primer to prevent feathering.
My Own Fail-to-Win Moment:
For a zine shoot themed “Post-Digital Decay,” I tried embedding circuit board fragments into foundation. First attempt: glued directly onto bare skin → irritation city. Second attempt: sealed fragments in resin tiles, then adhered with Pros-Aide → flawless. Moral? Innovation requires iteration—and antihistamines.
FAQs About Experimental Styles
Is experimental makeup only for professionals?
No—but start small. Try asymmetrical liner or monochromatic face painting before tackling full-face latex. Many editorial MUAs began by practicing on themselves (and crying over glitter removal).
Can I use craft supplies for experimental makeup?
Only if labeled non-toxic and skin-safe. Craft glitter often contains microplastics and sharp edges. Opt for cosmetic-grade glitter like Lit Cosmetics or Glitter Injections.
How do I photograph experimental looks effectively?
Natural north light + a ring flash minimizes shadows that obscure detail. Shoot in RAW format to recover highlight/shadow data in post.
Where can I study experimental techniques?
Books: Face Forward by Kevyn Aucoin, The Art of Make-Up by Lisa Eldridge.
Courses: BA (Hons) Makeup for Media & Performance at London College of Fashion; online workshops via Cinema Makeup School.
Conclusion
Experimental styles in editorial makeup aren’t about shock value—they’re about speaking a visual language that transcends trends. Whether you’re sculpting with gels, painting with iridescent inks, or reimagining the human face as topography, your toolkit must blend artistry with anatomy.
Remember: every “rule-breaking” MUA studied the rules first. So sketch, test, fail gloriously, and seal like your career depends on it (it might). And if your glitter migrates to your pillowcase again? Welcome to the club—we keep extra tape rollers in our kits.
Like a Tamagotchi, your creativity needs daily feeding—not just occasional crisis attention.
Rhinestones gleam,
Skin breathes beneath the chrome dream—
Art survives the wipe.