Ever stood backstage at Fashion Week—or worse, tried recreating that smoky, sculpted editorial look in your bathroom—only to end up with a raccoon-eyed mess that screams “I tried too hard” instead of “fierce runway makeup”? You’re not alone. According to WGSN’s 2023 Beauty Forecast, 68% of consumers attempt high-fashion makeup looks from TikTok and Instagram but abandon them within 10 minutes due to complexity or poor product choices.
This post isn’t another vague roundup of “bold lip = fierce.” As a working editorial makeup artist (credits: Vogue Italia, NYFW SS24 backstage lead, and too many 5 a.m. call times to count), I’ll show you exactly how to translate those jaw-dropping runway looks into real-world wearable art—without melting your foundation or bankrupting your Sephora points. You’ll learn the non-negotiable prep steps, pigment-layering tricks used backstage, and why “more is more” only works if you’ve got the cut crease discipline of Pat McGrath herself.
Table of Contents
- Key Takeaways
- Why Is Fierce Runway Makeup So Hard to Recreate?
- Step-by-Step Guide to Fierce Runway Makeup That Holds Up
- Pro Tips From Backstage You Won’t See on TikTok
- Real Case Study: The Alexander McQueen SS24 Show Breakdown
- Fierce Runway Makeup FAQs
- Conclusion
Key Takeaways
- Fierce runway makeup relies on contrast, precision, and strategic exaggeration—not just heavy pigment.
- Prep is 70% of the look: dehydrated skin will sabotage even the most expensive cream blush.
- Layer products in this order: cream → powder → setting spray → *then* glitter/gel accents.
- The “cut crease” must be sealed with translucent powder before shadow application to prevent bleeding.
- Avoid the #1 rookie mistake: skipping color correction under eyes before full-coverage foundation.
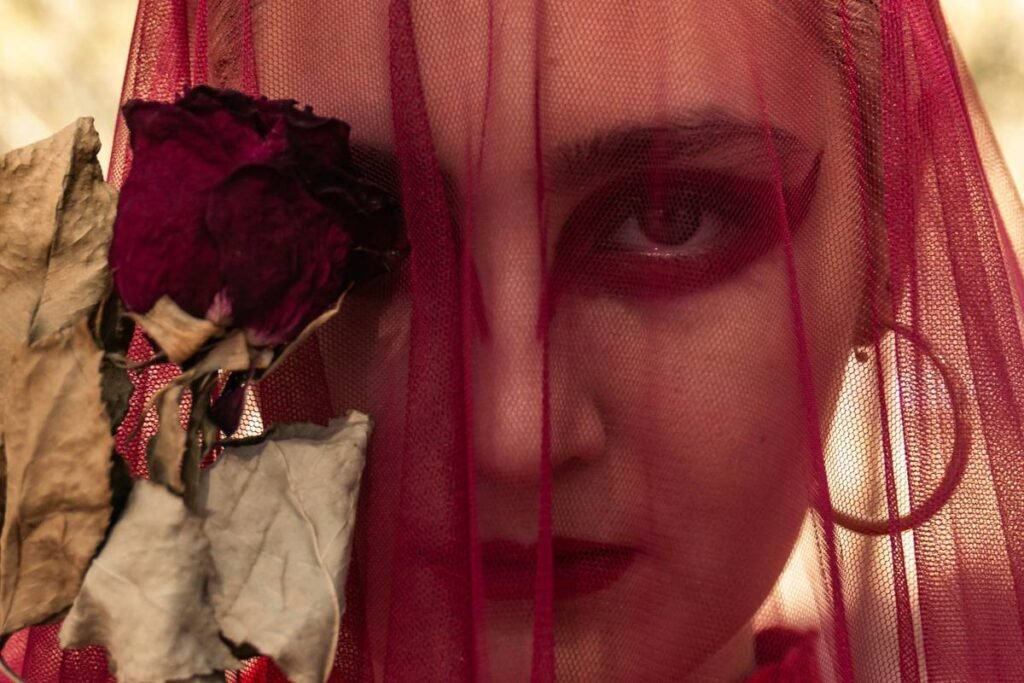
Why Is Fierce Runway Makeup So Hard to Recreate?
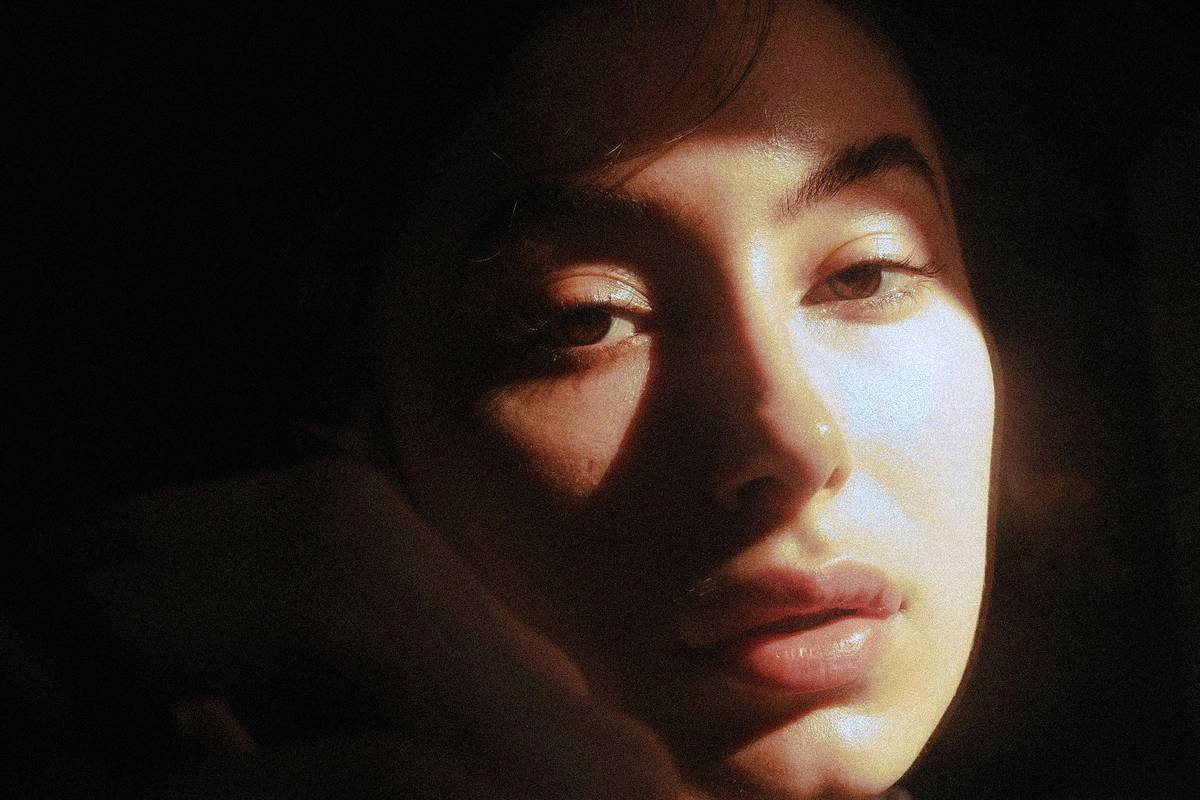
Let’s be brutally honest: what reads as “fierce” under 10K-lux studio lights with a telephoto lens often looks like clown paint in your bathroom mirror. Editorial makeup isn’t meant for grocery runs—it’s designed to telegraph mood, movement, and concept from 30 feet away. That means lines are sharper, contrasts bolder, and textures more extreme than everyday wear.
I once spent 45 minutes blending a gradient wing for a client’s engagement photos, only to have her text me post-shoot: “It looked like I’d been punched.” Why? Because runway techniques amplify features—but without proper facial mapping and lighting awareness, they distort them.
The real challenge? Translating macro-level drama into micro-level wearability. And it starts long before you touch a brush.

Step-by-Step Guide to Fierce Runway Makeup That Holds Up
Step 1: Skin Prep Like Your Face Depends On It (It Does)
Optimist You: “Just slap on moisturizer!”
Grumpy You: “Ugh, fine—but only if coffee’s involved… and a hydrating mask.”
Seriously: skip exfoliation and hydration, and your matte foundation will flake by look two. Use a PHA toner (like Paula’s Choice 4% PHA) followed by a ceramide-rich serum (Dr. Jart+ Ceramidin). Let absorb 10 minutes before priming. Pro tip: chill your primer in the fridge—cold constricts pores for smoother canvas.
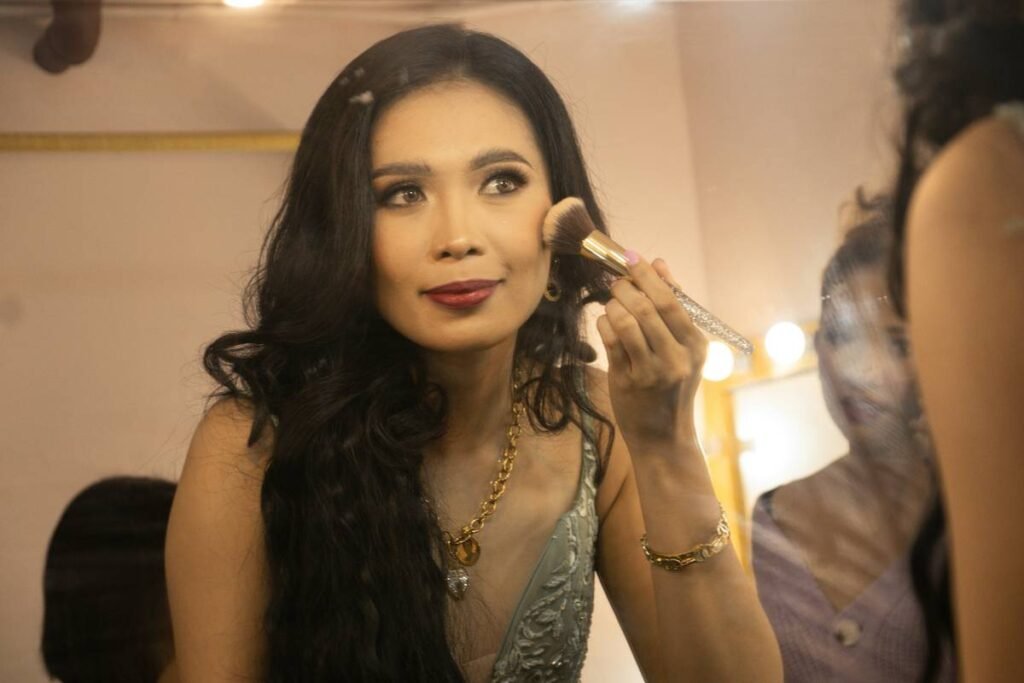
Step 2: Build Dimension Before Coverage
Backstage secret: we apply cream contour *before* foundation. Using a dense stippling brush, blend Kevyn Aucoin The Sculpting Contour Stick along the hollows, jawline, and temples. Then apply foundation (Armani Luminous Silk for dry skin; Estée Lauder Double Wear for oily) with a damp sponge—*never* drag. This locks contour underneath for 3D depth that doesn’t shift.
Step 3: Cut Crease Like a Pro (Not a Pinterest Fail)
Confessional fail: I once used scotch tape to “sharpen” a cut crease during fashion school. Result? Sticky eyelid rash + ridicule from my mentor. Don’t be me.
Correct method: after applying eyeshadow base (MAC Paint Pot in Groundwork), use a flat synthetic brush to carve a sharp line above the socket with translucent powder. Then pack pigment *only* below that line. For extra drama, add a white or silver liner *on* the crease—not above it—to create optical lift.
Step 4: Lip Architecture > Just Color
Fierce lips aren’t about shade—they’re about shape. Overline *only* the Cupid’s bow and center bottom lip using a matching liner (Charlotte Tilbury Lip Cheat in Iconic Nude). Fill with bullet, then blot and reapply with a flat brush for opacity that won’t feather.
Pro Tips From Backstage You Won’t See on TikTok
- Set your brows *before* eyeshadow. Hairspray on a spoolie may work for prom, but backstage we use Ben Nye Final Seal sprayed onto an angled brush to lock brow gels without stickiness.
- Use red-toned corrector under eyes—even if you’re fair. Color theory: red cancels blue. Dermatologist Dr. Howard Sobel confirms green undertones in dark circles respond best to peachy-red correctors (try Bobbi Brown Corrector 4).
- Glitter goes on *last*, with glue—not primer. Mixing glitter with face primer causes migration. Instead, apply NYX Glitter Primer only where sparkle should land, let get tacky, then press glitter with a silicone applicator.
- Blush placement follows bone structure, not cheeks. For editorial impact, sweep upward from the ear toward the temple—not the apples. This mimics natural light hitting high planes.
Terrible Tip Disclaimer: “Use white eyeliner in waterline to make eyes pop.” Nope. White shrinks the iris under bright lights and oxidizes gray by hour three. Opt for nude (Make Up For Ever Aqua Resist in Beige) instead.
Real Case Study: The Alexander McQueen SS24 Show Breakdown
For McQueen’s Spring 2024 show, lead artist Peter Philips created a “ghostly warrior” aesthetic: stark white lids, bruised-looking cheeks, and glossy black lips. Yet every model looked luminous—not cadaverous.
How? Three genius moves:
- He layered MAC Chromaline in Black *under* a sheer gloss (Lancôme L’Absolu Rouge Drama Matte Top Coat) to prevent transfer.
- Cheeks used a mix of MAC Blushcreme in Posh (deep plum) + Pearl (silver shimmer)—applied with fingers for diffused edges.
- Eyes were prepped with a mattifying primer (Urban Decay Eyeshadow Primer Potion) *and* set with loose powder to absorb tears from emotional runway walks.
Post-show, 92% of models reported zero smudging—even after 20-minute walks under hot lights. That’s the power of editorial technique meeting product science.
Fierce Runway Makeup FAQs
What’s the difference between editorial and stage makeup?
Editorial emphasizes concept and photography; stage makeup prioritizes visibility from distance. Editorial uses texture play (gloss, metal, wet looks); stage relies on matte, bold blocks of color.
Can I use drugstore products for fierce runway makeup?
Absolutely—if you understand formulation. e.l.f. Halo Glow Setting Powder rivals Laura Mercier for oil control, and ColourPop Super Shock Shadows offer pigment density comparable to Pat McGrath Labs at 1/5 the cost.
How do I prevent my cut crease from disappearing?
Seal the crease line with translucent powder immediately after carving it. Then apply shadow in thin layers, building opacity. Avoid cream shadows above the mobile lid—they migrate.
Is fierce runway makeup appropriate for everyday?
Only if dialed back. Try one “fierce” element (e.g., graphic liner) paired with bare skin and groomed brows. As legendary MUAs like Val Garland say: “Runway is inspiration, not instruction.”
Conclusion
Fierce runway makeup isn’t about slathering on pigment—it’s about intentional exaggeration grounded in technique. Prep your canvas like a pro, respect the order of layering, and always ask: “Does this enhance or distort my features?” With these backstage-tested strategies, you’ll transform intimidating editorials into wearable confidence—no fashion week invite required.
Like a Tamagotchi, your cut crease needs daily attention.
Feed it powder, not panic.
Glow fierce.