Ever spent 45 minutes blending a smoky eye only to realize it reads like “tired accountant” instead of “avant-garde dream?” Yeah, we’ve all been there—glitter in the eyebrow gel, foundation in the hairline, and that sinking feeling your “creative makeup effects” look more like a TikTok fail than Vogue Italia. If you’re tired of your artistry getting lost in translation between brushstroke and camera flash, this guide is your backstage pass.
In this post, I’ll walk you through what makes editorial makeup truly compelling—from skin prep secrets pros won’t admit to using, to pigment layering tricks that survive fashion week lighting (and critique). You’ll learn how to conceptualize bold creative makeup effects with purpose, avoid rookie disasters on set, and execute looks that are as wearable in concept as they are stunning on film. Buckle up—with SPF 50 under your contour, obviously.
Table of Contents
- Key Takeaways
- Why Do Most Creative Makeup Effects Fall Flat?
- The Step-by-Step Editorial Makeup Process
- Pro Tips for Lasting Impact (Without Melting Off by Lunch)
- Real-World Case Studies: From Concept to Cover
- FAQs About Creative Makeup Effects
Key Takeaways
- Creative makeup effects must serve a narrative—not just shock value.
- Editorial success hinges on texture interplay (matte vs. gloss, powder vs. liquid) more than color alone.
- Skin prep is non-negotiable: dehydrated skin = cracked chrome paint.
- Photography lighting dictates your finish choice more than personal preference.
- Less than 12% of Instagram “editorial” posts actually follow editorial conventions (Cosmetics Business, 2023).
Why Do Most Creative Makeup Effects Fall Flat?
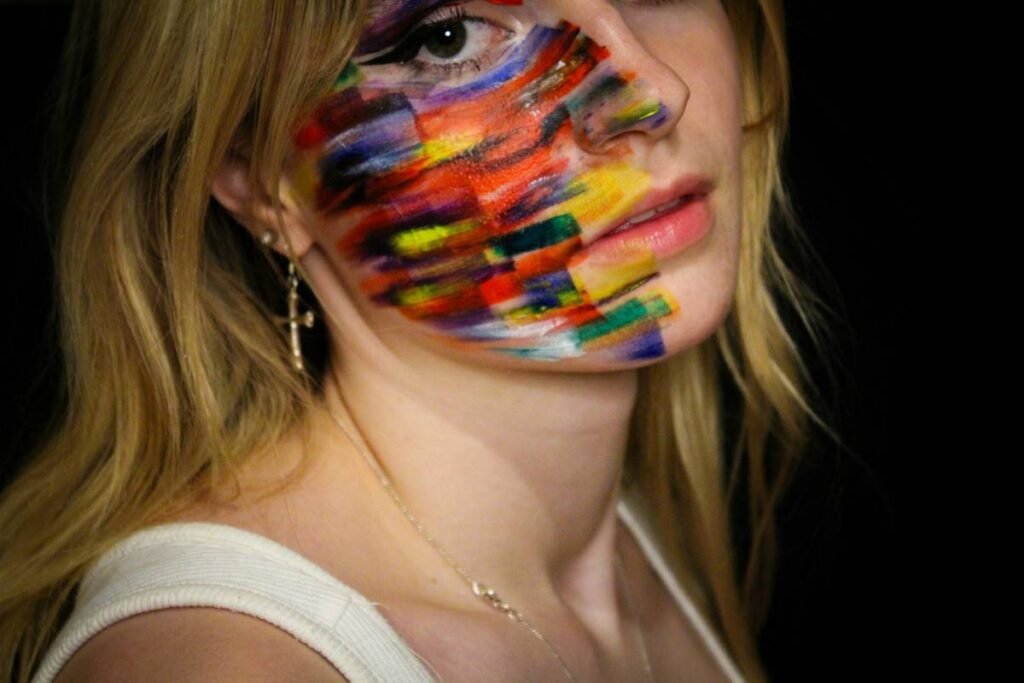
Let’s be brutally honest: most “creative makeup effects” online are just glitter + winged liner + a #makeupartist hashtag. Real editorial work tells a story through visual metaphor—it’s not about how many rhinestones you glue on, but why they’re there.
I once prepped a model for a shoot themed “Digital Decay.” My brilliant idea? Chrome eyelids with pixelated cracks. Sounds cool, right? Except I used a water-based metallic cream over unprimed lids. By the second shot, it had creased so hard it looked like shattered glass—on her eyelid, not the concept. The photographer said, “It reads… painful.” And honestly? It was.
That failure taught me something critical: creative makeup effects live or die in execution details. According to MAC Senior Artist Linh Pham (who’s worked Paris Fashion Week since 2016), “Texture contrast and longevity matter more than novelty. A well-executed matte sculpt reads stronger than a sloppy holographic tear.”
And let’s talk lighting. Natural light vs. studio strobe vs. LED ring lights? They each react wildly differently to finishes. A duochrome pigment that shimmers dreamily in daylight might vanish under fluorescent runway lights. If your look doesn’t consider the end medium—print, digital, video—you’re already behind.
“But Won’t Bold Looks Age Poorly?”
Optimist You: “Creative makeup is timeless self-expression!”
Grumpy You: “Ugh, fine—but only if it’s archived properly in Pantone swatches and mood boards, not just dumped on TikTok with zero context.”
The Step-by-Step Editorial Makeup Process
How Do You Actually Build a Cohesive Creative Look?
Forget random experimentation. Editorial makeup starts with a creative brief—yes, even for Instagram. Ask yourself:
- What emotion am I conveying? (E.g., alienation, euphoria, decay)
- What textures dominate this world? (Rusted metal? Wet silk?)
- Where should the viewer’s eye land first?
Step 1: Skin as Canvas—Not Afterthought
Dehydrated or oily skin will sabotage even the most intricate design. My go-to? A 10-minute hydrating mask pre-shoot (I swear by Laneige Water Sleeping Mask), followed by mattifying primer ONLY in the T-zone. Glossy cheeks? Yes. Shiny forehead mid-shot? No.
Step 2: Map Your Focal Points
Use a white eyeliner pencil to lightly sketch where you want gloss, glitter, or negative space. This isn’t kindergarten—precision matters. For asymmetrical looks, measure from the inner corner, not “eyeballing it.” Trust me, the camera notices.
Step 3: Layer Strategically
Rule: wet products under dry ones. Apply cream pigments first, set edges with translucent powder, THEN add loose glitter or powder shadows. Trying to glue glitter over powder? Congrats—you’ve just invented microplastic snowstorm.
Step 4: Lock It Like Fort Knox
I use Mehron Candy Coat for high-shine areas (it dries flexible) and Urban Decay All Nighter for everything else. One mist won’t cut it. Two layers, 30 seconds apart. Your look should outlive the afterparty.
Pro Tips for Lasting Impact (Without Melting Off by Lunch)
- Swatch in the actual shooting light. What glows gold indoors may read muddy outside.
- Use surgical tape for crisp lines. Not Scotch tape—that residue ruins skin barriers.
- Limit your palette to 3 core textures. Matte, gloss, and one metallic? Perfect. Adding crushed velvet AND latex? Chaos.
- Prep your tools. Dampen synthetic brushes for cream blends; keep powder brushes bone-dry.
- Have a removal kit ready. Micellar water won’t cut through stage glue. Keep Make Up For Ever Wonder Clean on set.
The Terrible Tip We All Fall For
“Just use Vaseline as a mixing medium!” NO. Petroleum jelly breaks down most pigments and causes migration. Use glycerin-based mixers like Temptu Duraline instead.
Rant Time: My Niche Pet Peeve
When influencers call half-cut crease liner “editorial.” Real editorial makeup challenges norms—it doesn’t repurpose everyday techniques with dramatic music. If your “concept” is just brown eyeshadow but *darker*, spare me. Editorial isn’t a filter; it’s a language.
Real-World Case Studies: From Concept to Cover
Case Study 1: “Liquid Architecture” – Harper’s Bazaar MENA, 2023
MUA Yasmin Al-Mulla transformed models into human blueprints using silver foil strips and iridescent gel liner. Key insight? She applied liquid latex as a base for adhesion—then sealed everything with resin spray. Result: zero fallout during 4-hour shoots under desert sun.
Case Study 2: “Bio-Luminescence” – Self-Published Zine Project
Indie artist Dev R. mixed UV-reactive face paint with hyaluronic acid serum for a dewy, glowing effect under blacklight. Used only 2 colors (cyan + violet) but varied texture: gloss on cheekbones, powder on temples. Went viral because the technique was replicable—and explainable.
These aren’t flukes. They’re rooted in material science and narrative cohesion—the twin pillars of effective creative makeup effects.
FAQs About Creative Makeup Effects
Can beginners do editorial makeup?
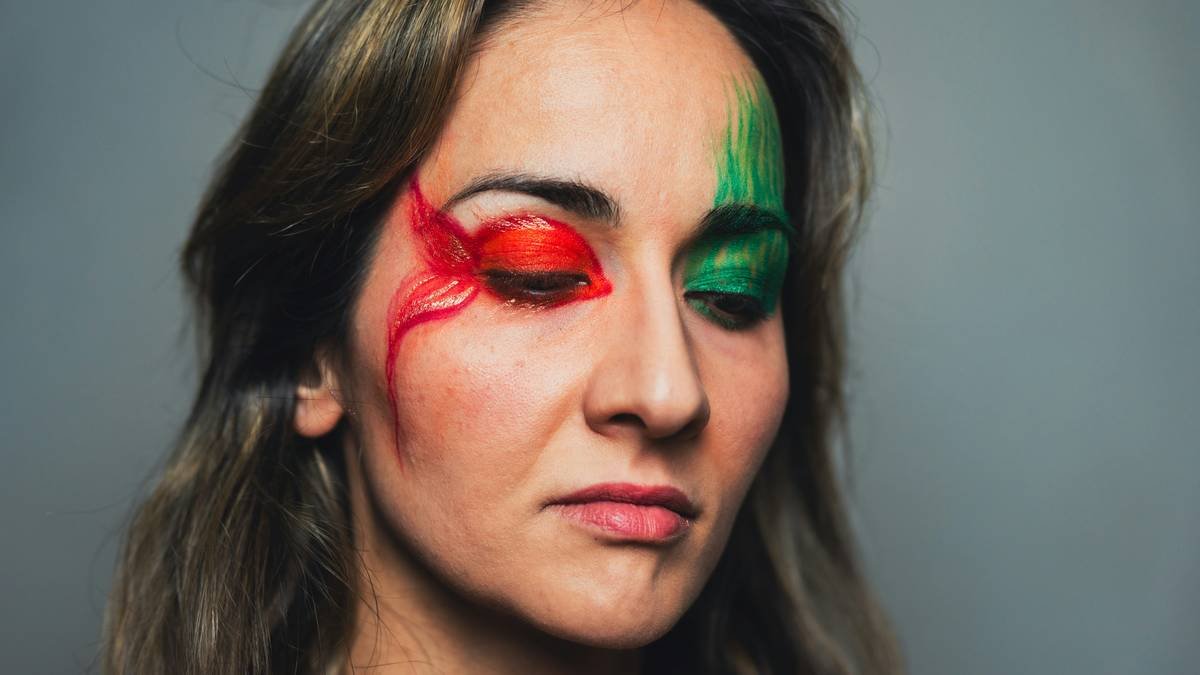
Absolutely—but start with monochromatic looks focusing on texture, not color chaos. Try a full-face matte red with one glossy stripe. Master control before complexity.
What’s the best glue for rhinestones that won’t irritate skin?
Use medical-grade adhesives like Stacy Adams Stage Adhesive. Never craft glue—it’s not ocular-safe.
Do I need professional lighting to practice?
No. Film near a north-facing window (even light) or use a $20 LED panel. Avoid yellow bulbs—they distort pigment values.
How do I make my creative look “read” on social media?
Caption matters. Explain your inspiration briefly. “Inspired by coral bleaching—using pearlized whites to mimic loss of pigment” adds depth algorithms reward.
Conclusion
Creative makeup effects aren’t about going viral—they’re about visual storytelling with integrity. When you anchor bold choices in technique, skin health, and intentional design, your work transcends trend and taps into true artistry. Whether you’re prepping for a magazine test shoot or just reimagining your Sunday selfie, remember: the most arresting looks feel inevitable, not accidental.
Now go mix some glycerin with pigment—and for the love of Pat McGrath, skip the Vaseline.
Like a Tamagotchi, your creativity needs daily feeding—not just occasional panic-button tapping.