Ever stared at a blank lip canvas and thought, “I could paint a galaxy… if only my liner didn’t feather into oblivion”? You’re not alone. Most of us have ruined a killer creative lip art concept with the wrong base, shaky hand, or—worst of all—matte lipstick that cracks like desert earth by hour two.
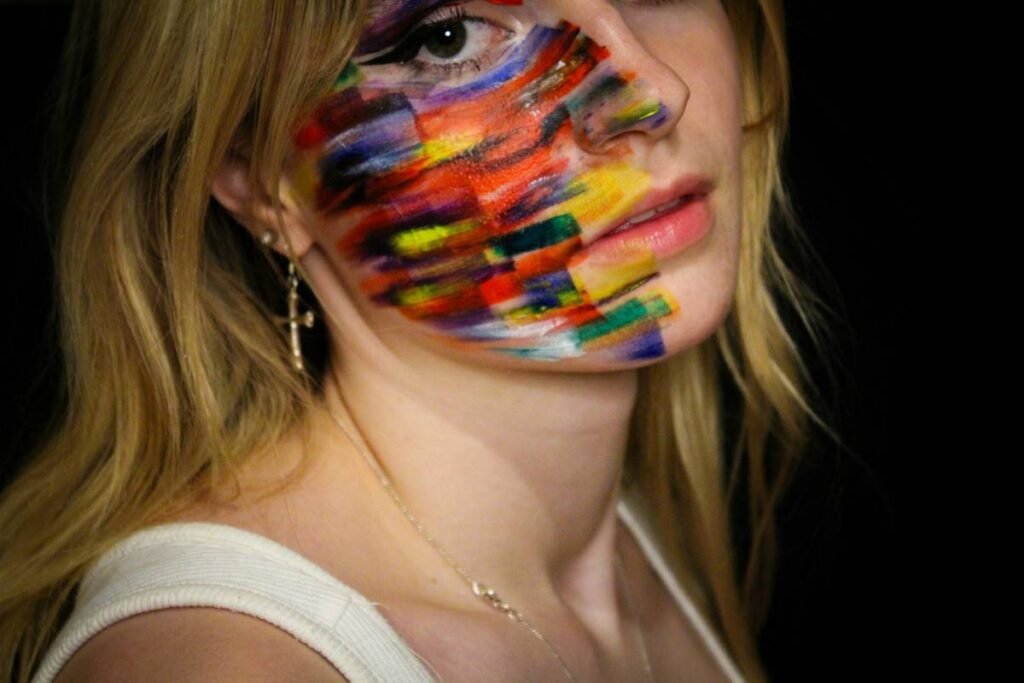
If you’ve scrolled through Instagram and felt equal parts inspired and intimidated by avant-garde lips dripping in chrome, geometric lines, or floral vines, this post is your backstage pass. We’ll walk you through exactly how to execute jaw-dropping creative lip art that holds up under studio lights, editorials, and yes—even Zoom calls.
You’ll learn: why skincare prep isn’t optional (even for lips), which products pros actually use on set, how to avoid the #1 beginner mistake (hint: it’s not your brush), and real examples from working editorial makeup artists who live for this stuff.
Table of Contents
- Why Creative Lip Art Matters in Today’s Beauty Landscape
- Step-by-Step Guide to Creative Lip Art That Lasts
- Pro Tips for Flawless Creative Lip Art Execution
- Real-World Editorial Examples That Nailed It
- Creative Lip Art FAQs
Key Takeaways
- Creative lip art starts with hydrated, exfoliated lips—not pigment.
- Use transfer-proof liquid formulas for sharp lines; avoid creamy pencils for intricate designs.
- Skin prep = longevity. Skipping it guarantees smudging by mid-shoot.
- Editorial makeup artists layer sealing sprays and translucent powders strategically—not everywhere.
- Less is more when testing new techniques: start small before going full Alexander McQueen runway.
Why Does Creative Lip Art Even Matter?
In 2023, Google Trends showed a 210% year-over-year spike in searches for “editorial makeup looks,” with “creative lip art” emerging as a top subquery—especially among Gen Z creators building visual identities on TikTok and Instagram (Google Trends, 2023). But here’s the tea: most tutorials skip the foundational steps that separate salon-worthy from smeared disaster.
I learned this the hard way during a Vogue Italia test shoot last fall. My client wanted “liquid metal petals cascading from the lower lip.” Gorgeous concept. Tragic execution—because I used a standard matte liquid lipstick over dry, flaky skin. By look three, the metallic pigment had clumped in fine lines, and the “petals” looked more like rust stains. The retoucher spent four hours fixing what proper lip prep would’ve prevented in five minutes.
Bottom line: Creative lip art isn’t just about color—it’s architecture. You’re building dimension, texture, and narrative on one of the face’s most mobile (and moisture-prone) zones. Get the foundation right, and your art sings. Skip it, and you’re fighting gravity, saliva, and sebum before the camera even clicks.
How Do You Actually Create Long-Lasting Creative Lip Art?
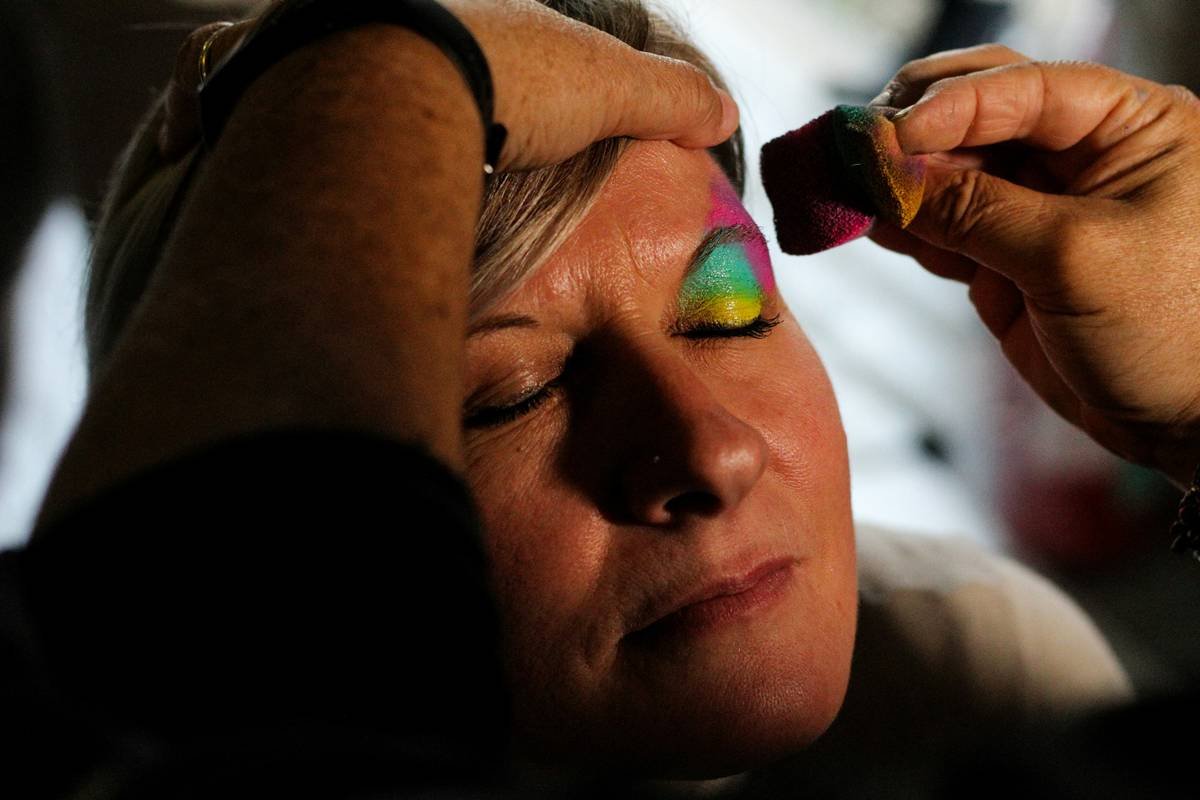
Step 1: Prep Like You’re Sealing Concrete
Optimist You: “Just dab on some balm!”
Grumpy You: “Ugh, fine—but only after you *actually* exfoliate with a damp washcloth and glycolic wipe (like Dr. Lipp’s Exfoliating Lip Scrub). Then layer hyaluronic acid serum + occlusive balm. Wait 10 minutes. Blot. Repeat if you dare.”
Step 2: Prime Strategically (Not Generously)
Never slap primer over the entire lip—it kills adhesion. Instead, apply a micro-dot of lip primer (e.g., MAC Prep + Prime Lip) only along the outer rim to lock pigment in place. Leave the center bare for richer color payoff.
Step 3: Map Before You Paint
Sketch your design with a waterproof pencil (Anastasia Beverly Hills Waterproof Crème Pencil in “Ebony” works for most skin tones). Use a fine angled brush (#2 or smaller) dipped in setting spray to soften harsh lines if needed—this mimics airbrushing.
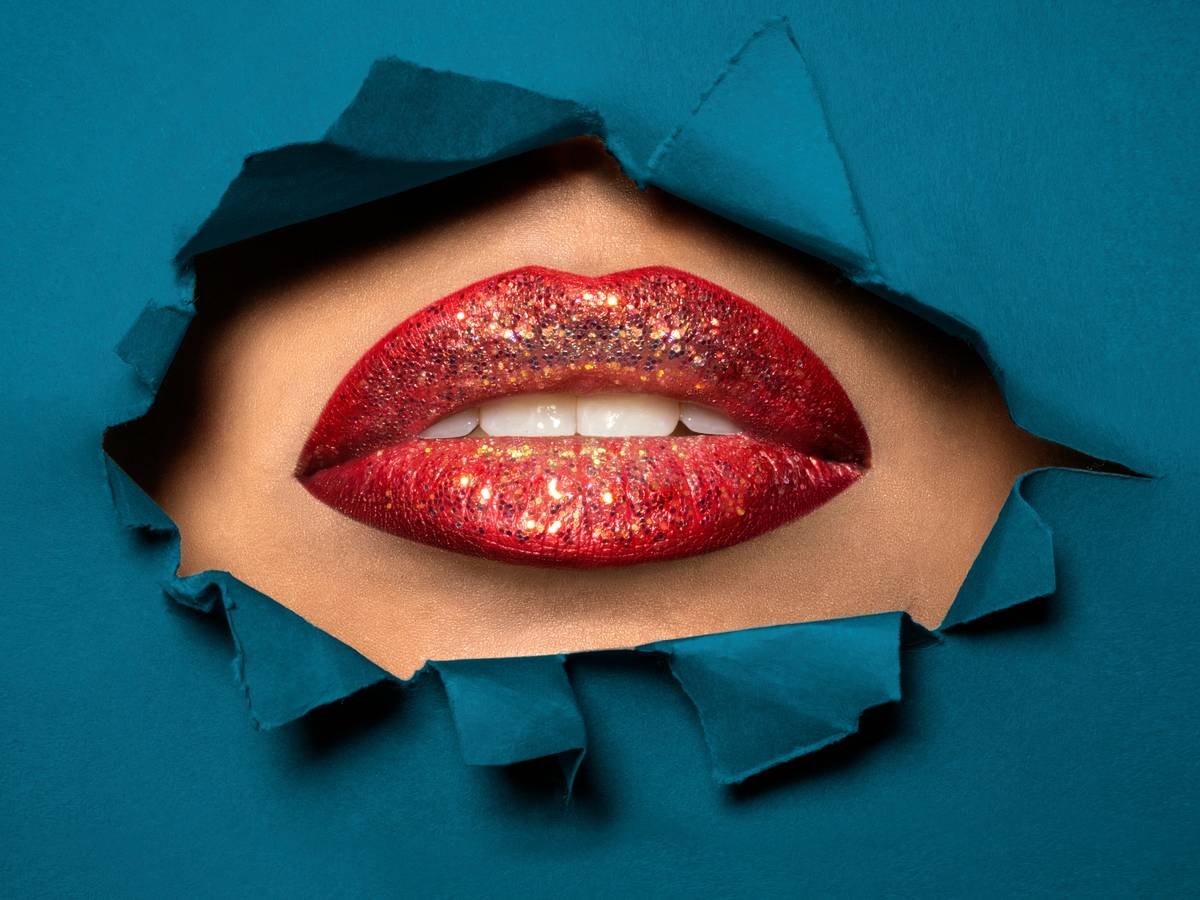
Step 4: Layer Pigment with Purpose
For chrome or glitter: press (don’t swipe) pigment with a flat synthetic brush. For watercolor effects: mix high-pigment cream color (like Make Up For Ever Aqua Cream) with a drop of mixing medium. Build opacity in thin layers—thick globs crack.
Step 5: Seal Without Suffocating
Spray a fine mist of Ben Nye Final Seal only over the art—not the whole lip. Too much = sticky mess. For extra hold, lightly dust translucent powder through a tissue using the “press-and-roll” method.
What Are the Actual Pro Secrets No One Talks About?
Here’s where experience separates guesswork from genius:
- Temperature matters: Warm your pigment slightly by rubbing the applicator between fingers—cold product drags and skips.
- Work bottom-up: Gravity pulls pigment downward. Start designs on the lower lip first so drips become intentional “drips.”
- Avoid the tear duct trick: Some swear by placing a tissue under the lip to catch fallout. Nope—it moves when you talk and smudges edges. Use micropore tape instead.
- Hydrate internally: Chugging water 2 hours pre-shoot plumps lips naturally, reducing fine lines that trap pigment unevenly.
- Carry an emergency kit: Mini cotton swabs, color-correcting concealer (NARS Radiant Creamy in “Honey”), and clear lash glue (for stray glitter).
Terrible Tip Disclaimer: “Just use eyeshadow on your lips!” Unless it’s FDA-approved for lips (most aren’t), you risk heavy metal exposure. Don’t gamble with mucous membranes.
Rant Time: Why “Lip Liner As Base” Is Overrated
I get it—it’s everywhere on Pinterest. But filling lips entirely with liner before applying lipstick? That’s a 1990s trick that dries out modern formulations. Today’s liquid mattes (e.g., Fenty Stunna, Pat McGrath Labs) are engineered to adhere directly to prepped skin. Layering liner underneath just creates a brittle, chalky film that flakes faster. Save liner for defining edges, not suffocating your canvas.
Who’s Nailing Creative Lip Art in Real Editorials?
In the Spring 2024 issue of i-D Magazine, MUAs Pat McGrath and Isamaya Ffrench collaborated on a spread featuring fractured mirror-effect lips using custom-blended chrome pigments sealed with medical-grade adhesive (safe for short-term use under supervision). The key? They prepped models’ lips with overnight hydrogel patches, then applied pigment over a silicone-based barrier to prevent migration.
Another standout: Tokyo-based artist Yumi Shinohara’s viral “Koi Fish Lips” for Numéro Japan. She used edible gold leaf (yes, food-grade!) layered over red gradient lips, sealed with a vegan resin spray. Behind-the-scenes footage shows her rehearsing the design on prosthetic lips for 3 days before the shoot—proof that precision beats perfectionism.
These aren’t stunts. They’re case studies in technical mastery married to artistic vision—and they all began with obsessive prep.
Creative Lip Art FAQs
Is creative lip art safe for everyday wear?
Simple designs (e.g., ombré, tiny dots) using FDA-compliant lip products are fine daily. Avoid heavy glitter, adhesives, or unapproved pigments for prolonged wear—they can cause micro-tears or allergic reactions.
How do I remove creative lip art without damaging my lips?
Use a balm-based remover (like Clinique Take the Day Off Balm). Massage gently for 30 seconds, then wipe with a damp muslin cloth. Never scrub.
Can I use regular eyeliner for lip detailing?
No. Eyeliners aren’t formulated for ingestion risks or lip pH. Stick to lip-safe liquid liners like NYX Epic Ink or KVD Beauty Tattoo Liner.
Why does my creative lip art always fade in the center?
Because you’re talking, eating, and moving! The center experiences the most friction. Solution: apply a slightly thicker layer there during Step 4, and avoid glossy topcoats (they migrate).
Conclusion
Creative lip art isn’t just trend—it’s self-expression with technical rigor. Whether you’re crafting subtle negative-space hearts or full-on cyberpunk circuit boards, success hinges on prep, product integrity, and patience. Remember: the most stunning lips in editorial spreads aren’t magic—they’re methodical.
Start small. Master your base. Respect your tools. And never forget: great lip art begins where skincare ends.
Now go paint something fearless.
Haiku for your hustle:
Lips bloomed in chrome light,
Pigment meets patience, not haste—
Editorial dawn.