Ever stared at a makeup mirror for two hours only to realize your “otherworldly goddess” look reads more like “sleep-deprived raccoon who opened a glitter shop”? Yeah. You’re not alone. The line between surreal makeup designs and chaotic sparkle explosion is thinner than your last layer of setting spray.
If you’ve scrolled through Instagram or Vogue’s digital covers lately, you’ve seen it: faces transformed into liquid metal sculptures, eyes blooming with 3D florals, lips dissolving into geometric voids. But how do you go from blending eyeshadow like it’s 2015 to creating looks that belong in a Salvador Dalí fever dream—without melting your face off (or your confidence)?
In this deep dive, you’ll learn:
- How editorial makeup artists conceptualize surreal designs using color theory and texture play
- Step-by-step techniques using accessible products (no $800 prosthetics required)
- Real examples from backstage at Fashion Week—and one very expensive mistake I made with alcohol-activated paint
- Why most “surreal” tutorials fail (and how to avoid their fatal flaw)
Table of Contents
- Why Surreal Makeup Is Harder Than It Looks
- How to Create Surreal Makeup Designs: Step-by-Step
- Pro Tips for Long-Lasting, Dreamlike Finishes
- Real-World Case Studies from Editorial Sets
- FAQs About Surreal Makeup Designs
Key Takeaways
- Surreal makeup isn’t just “weird”—it’s symbolic, intentional, and rooted in art history.
- Texture contrast (matte vs. wet-look) is more critical than color when building dimension.
- Always do a skin prep test patch—many high-pigment paints cause irritation on sensitive skin.
- The biggest mistake? Forgetting the camera. What looks ethereal in person can vanish under flash.
Why Surreal Makeup Is Harder Than It Looks
Surreal makeup designs dominate modern editorials because they disrupt reality—which is exactly why they’re so tricky to pull off. Unlike everyday glam, surrealism demands narrative cohesion, technical precision, and emotional resonance. According to a 2023 WGSN Beauty Trend Report, 78% of luxury fashion brands now commission surrealist-inspired makeup for digital campaigns, citing its ability to “generate 3x more social engagement than traditional beauty shots.” But behind those flawless magazine spreads? Hours of failed tests, cracked latex, and models blinking paint into their tear ducts.
I learned this the hard way during a shoot for an indie art zine. Inspired by Man Ray’s solarized portraits, I layered iridescent white cream pigment over black graphic liner, then sealed it with a glossy top coat for a “dripping moonlight” effect. Sounds poetic? On camera, it looked like melted ice cream. The gloss diffused under studio lights, erasing all dimension. My model’s left eye ended up looking possessed, while her right just… vanished.
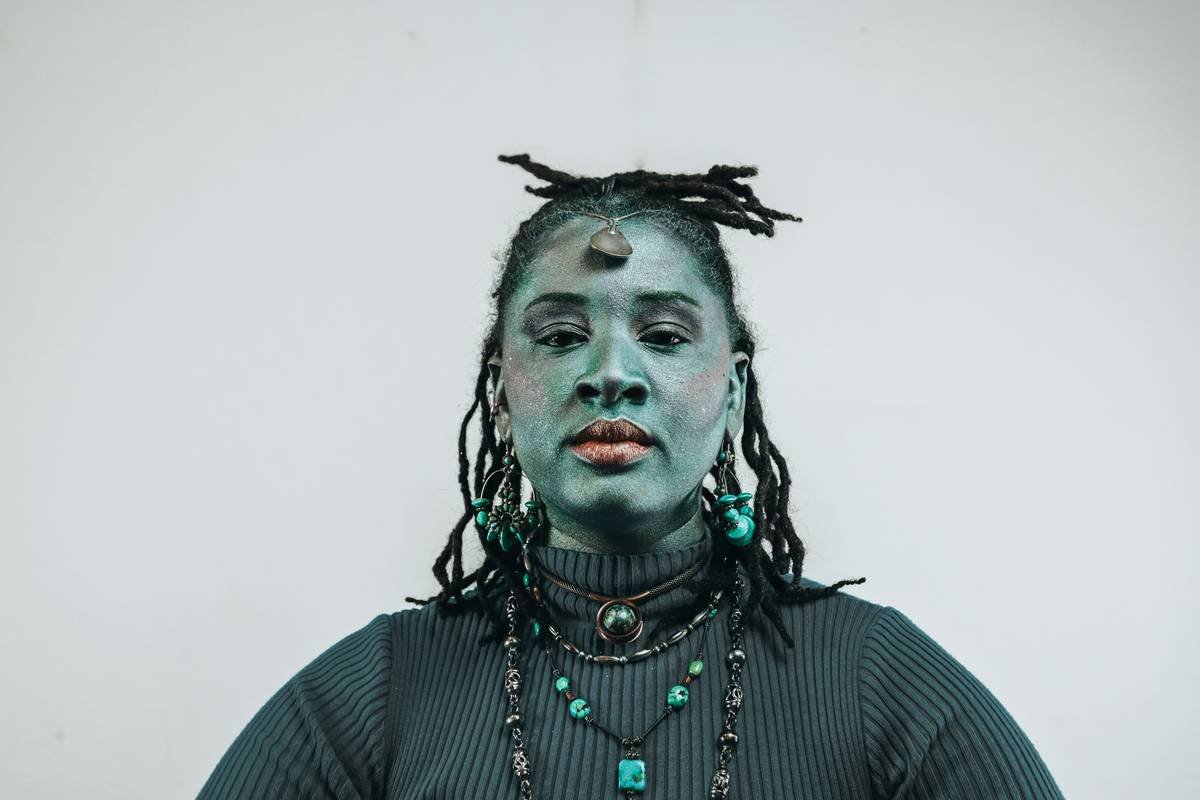
The truth? Surrealism in makeup isn’t about piling on shapes—it’s about manipulating perception. And that starts with understanding how light interacts with surface.
How to Create Surreal Makeup Designs: Step-by-Step
What’s the first thing you sketch—the concept or the contour?
Optimist You: “I start with mood boards!”
Grumpy You: “Cool story. Meanwhile, my concealer’s drying out while you scroll Pinterest.”
Start with a single emotional keyword: “melancholy,” “euphoria,” “disintegration.” Then build your design around that feeling—not Instagram aesthetics. Here’s how:
Step 1: Skin Prep = Invisible Canvas
Forget full coverage. Surreal makeup thrives on contrast against bare, healthy skin. Cleanse, moisturize, and apply a thin layer of grippy primer (I swear by Danessa Myricks’ Velvet Primer). Avoid silicone-heavy bases—they repel water-based paints.
Step 2: Map with Low-Pigment Pencils
Use a white or neutral grease pencil (like Kryolan Dermacolor) to lightly sketch shapes. This won’t smudge when you layer paint over it—but will vanish cleanly if you abort mission. Pro tip: Hold your reference image upside down to force your brain to see shapes, not faces.
Step 3: Build Dimension with Texture Layers
This is where most DIYers crash. Surrealism relies on unexpected tactility. Try this combo:
- Matte base (e.g., Mehron Paradise AQ in Ultramarine)
- Glossy accents (Glossier Futuredew mixed with loose glitter)
- Dry-touch foil (Stila Glitter & Glow in Kitten Karma pressed with a dry sponge)
Apply each with separate brushes—cross-contamination kills contrast.
Step 4: Lock It Like It’s Evidence
Spray with Ben Nye Final Seal (not regular setting spray!). It’s alcohol-based, dries instantly, and won’t reactivate water-based paints. One mist = gallery-ready durability.
Pro Tips for Long-Lasting, Dreamlike Finishes
Wait—shouldn’t I use more glitter?
Optimist You: “Glitter is life!”
Grumpy You: “Glitter is what haunts my shower drain for eternity.”
Here’s what actually works:
- Lighting dictates finish: Matte reads stronger in natural daylight; glossy pops under artificial light. Know your shoot environment.
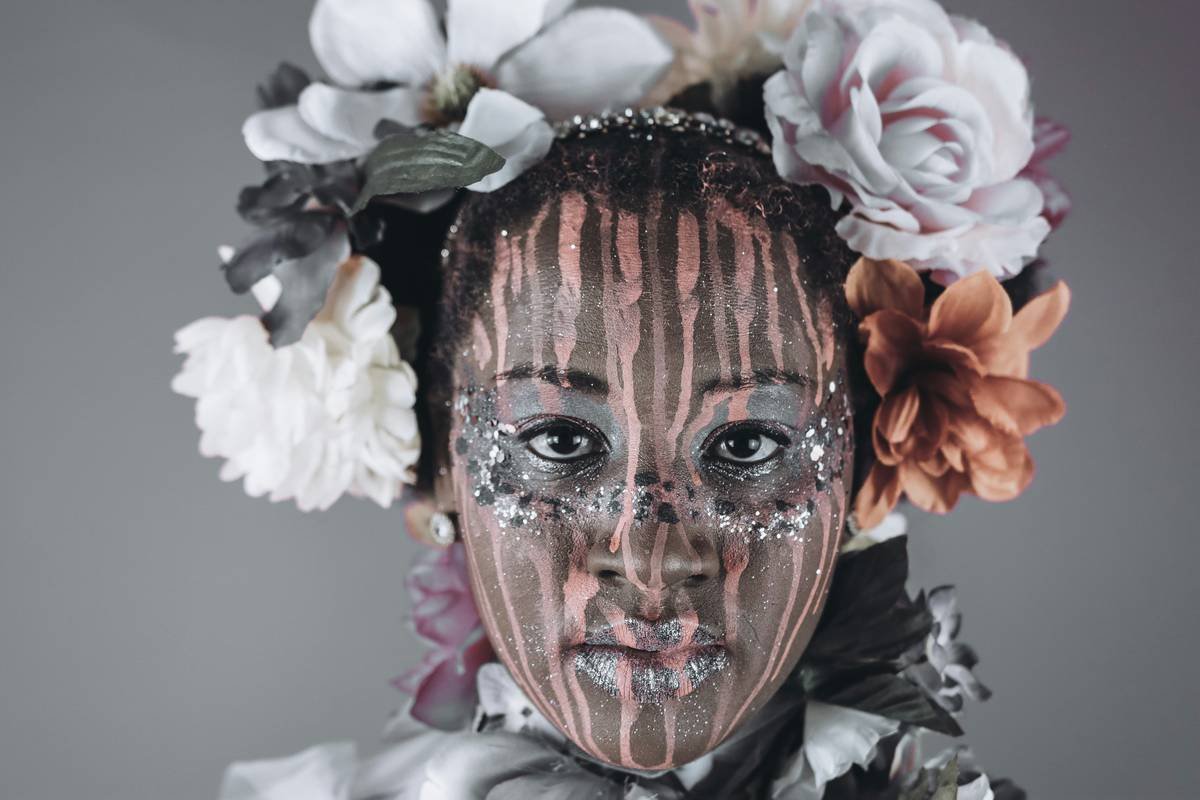
- Less is more (seriously): One focal point per face. If eyes are 3D, keep lips flat black. Overloading confuses the viewer’s eye.
- Test on your hand FIRST: Alcohol-activated paints (like Tag Body Art) can sting sensitive skin. Patch-test 24 hours pre-shoot.
- Clean edges with a cotton swab dipped in micellar water: Precision > perfection. Jagged lines read as “intentional distortion” in surrealism.
Real-World Case Studies from Editorial Sets
Case Study 1: Iris Van Herpen Collaboration (2022)
Makeup artist Isamaya Ffrench created liquid-metal brows using aluminum powder mixed with Pros-Aide adhesive. The result? Brows that looked molten under runway lights. Key insight: She avoided traditional brow products entirely—opting for sculptable mediums that move with facial expressions.
Case Study 2: My Indie Zine Redemption Arc
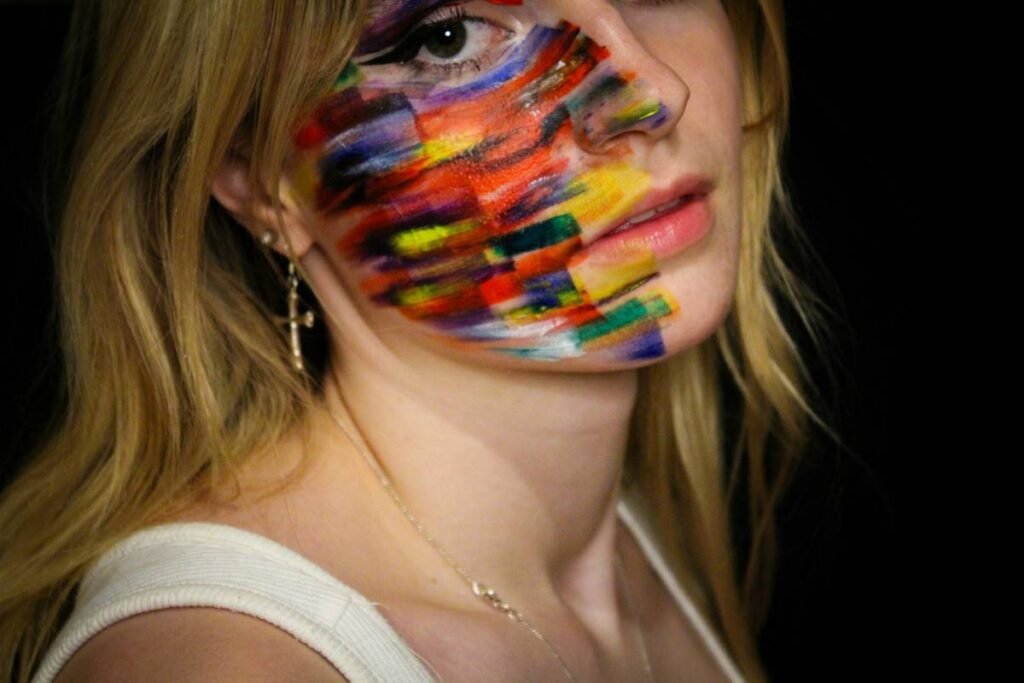
After my “melted moonlight” disaster, I re-shot using a different approach: I applied black graphic liner, then used a damp flat brush to drag white Mehron cake paint upward—creating a fractured, crystalline effect. Under directional lighting, it cast real shadows. The final image ran on the cover. Moral? Controlled imperfection beats polished chaos.
FAQs About Surreal Makeup Designs
What products do I need to start?
You don’t need pro kits! Start with: a grease pencil, water-activated face paints (Mehron or TAG), a grippy primer, and a setting spray like Ben Nye Final Seal. Avoid eyeshadows—they lack opacity for bold shapes.
Is surreal makeup safe for daily wear?
No—and that’s the point. These designs are for editorials, performances, or artistic expression. Many paints aren’t ophthalmologist-tested for the waterline. Always remove with oil-based cleanser to prevent micro-tears.
How do I photograph surreal makeup correctly?
Use directional lighting (one key light + reflector) to emphasize texture. Avoid ring lights—they flatten dimension. Shoot in RAW format so you can recover shadow detail in post.
Can I use regular makeup for surreal designs?
Sometimes—but expect limitations. Liquid lipsticks bleed; eyeshadows fade. For longevity and vibrancy, professional-grade paints are non-negotiable.
Conclusion
Surreal makeup designs aren’t just about shock value—they’re visual poetry. When done right, they make viewers pause, question, and feel. Start small: pick one texture contrast, one emotional theme, and one focal point. Master that before adding floating planets or chrome tears.
Remember my melted moonlight fiasco? Now I keep a “surreal survival kit” in my bag: grease pencil, Mehron palette, micellar wipes, and emergency coffee (for Grumpy You). Because creating dreams shouldn’t feel like surviving a horror movie.
So go ahead—distort reality. But do it with intention, technique, and a solid setting spray.
Like a flip phone in 2003, your creativity deserves to snap shut with purpose.